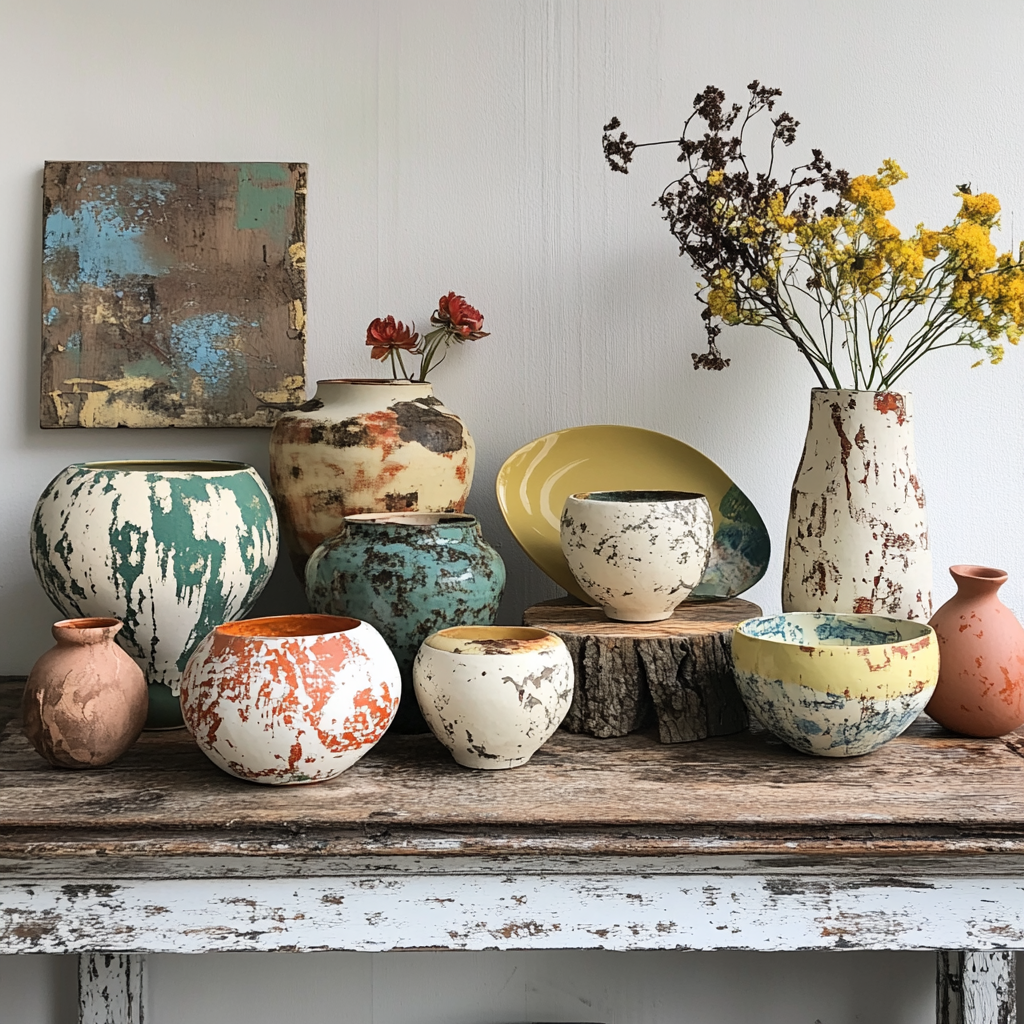
In a world where sustainability is becoming increasingly important, upcycling old furniture is not just a trendy DIY project – it’s a creative way to reduce waste, save money, and infuse your home with unique, personalized pieces. This guide will walk you through the process of transforming outdated or worn furniture into stunning modern masterpieces.
Why Upcycle?
Before we dive into the how-to, let’s consider the benefits of upcycling:
- Sustainability: Giving new life to old furniture reduces landfill waste.
- Cost-effectiveness: Upcycling is often cheaper than buying new furniture.
- Uniqueness: Create one-of-a-kind pieces that reflect your personal style.
- Preservation of quality: Older furniture is often sturdier than modern, mass-produced pieces.
- Creative satisfaction: There’s a special joy in creating something beautiful with your own hands.
Essential Tools and Materials
To get started, you’ll need some basic tools and materials:
- Sandpaper (various grits)
- Paint brushes and rollers
- Primer
- Paint or wood stain
- Screwdriver and/or drill
- Wood filler
- Cleaning supplies
- Safety gear (gloves, dust mask, safety glasses)
Depending on your specific project, you might also need:
- New hardware (knobs, handles, etc.)
- Fabric and staple gun (for reupholstering)
- Wood glue
- Saw (for more extensive modifications)
Step-by-Step Upcycling Process
- Choose Your Piece
Look for furniture with good “bones” – sturdy construction and an interesting shape. Thrift stores, yard sales, and even curbside finds can be treasure troves for upcycling projects.
- Plan Your Design
Envision what you want the final piece to look like. Consider current design trends, your home’s existing decor, and the function of the piece. Sketch your ideas or create a mood board for inspiration.
- Prep the Furniture
- Clean the piece thoroughly with a degreasing cleaner.
- Remove any hardware, drawers, or removable parts.
- Sand the surface to remove old finish and create a smooth base for paint or stain. The level of sanding depends on your planned finish – paint requires less sanding than stain.
- Repair any damages with wood filler or glue.
- Prime (If Necessary)
If you’re making a dramatic color change or working with a porous surface, apply a coat of primer. This will help the new paint adhere better and provide truer color.
- Paint or Stain
- For painting: Apply thin, even coats, allowing each to dry completely before adding the next. Two to three coats usually suffice.
- For staining: Apply the stain with a brush or cloth, working in the direction of the wood grain. Wipe off excess stain for a more natural look.
- Add Special Touches
This is where you can really make the piece unique:
- Try color blocking or ombre effects with paint.
- Use stencils to create patterns.
- Apply wallpaper to drawer fronts or the back of a bookshelf.
- Replace old hardware with modern alternatives.
- For upholstered pieces, recover with fresh, contemporary fabric.
- Protect Your Work
Once the paint or stain is completely dry, apply a clear protective coat, especially for pieces that will see heavy use.
- Reassemble and Enjoy
Put all the pieces back together, and place your newly upcycled masterpiece in its new home!
Creative Upcycling Ideas
- Vintage Dresser to Modern TV Stand
- Remove top drawers and install a shelf for media devices.
- Paint in a bold, contemporary color.
- Add sleek new hardware.
- Old Ladder to Rustic Bookshelf
- Sand and stain the ladder.
- Attach wooden planks to the rungs for shelves.
- Suitcase to Quirky Side Table
- Stack vintage suitcases.
- Attach legs to the bottom suitcase.
- Secure the stack together.
- Wooden Crate to Rolling Storage Ottoman
- Sand and paint the crate.
- Attach casters to the bottom.
- Add a cushioned top (which can be hinged for storage access).
- Dining Chair to Entryway Bench
- Remove the back of an old dining chair.
- Extend the seat with a piece of wood.
- Paint and reupholster as desired.
Tips for Success
- Don’t rush the prep work – proper cleaning and sanding are crucial for a professional-looking finish.
- When in doubt, start with smaller projects to build your confidence and skills.
- Always work in a well-ventilated area, especially when painting or staining.
- Test paint colors and techniques on a hidden area of the furniture first.
- Don’t be afraid to combine different techniques – mixing paint and stain, for example, can create interesting effects.
- Keep the style of your home in mind to ensure your upcycled piece will fit in.
Troubleshooting Common Issues
- Paint not adhering: Ensure the surface is clean and properly sanded. Consider using a bonding primer.
- Brush marks in paint: Try using a foam roller or add a paint extender to your paint.
- Stain looking blotchy: Sand the wood more thoroughly between coats of stain.
- Drawers sticking after painting: Sand the edges lightly and apply a thin layer of wax.
Conclusion: The Joy of Upcycling
Upcycling old furniture into modern masterpieces is more than just a home improvement project – it’s a creative journey that allows you to express your personal style while contributing to a more sustainable world. With each piece you transform, you’re not just changing furniture; you’re crafting a story, preserving history, and creating a truly unique home environment.
Remember, the beauty of upcycling lies in its imperfections. Don’t aim for factory-perfect results – embrace the quirks and character of your piece. These are what make your creation truly one-of-a-kind.
So, look around your home or local thrift store with fresh eyes. That worn-out dresser or outdated coffee table isn’t just old furniture – it’s your next modern masterpiece waiting to happen. Happy upcycling!


Leave a Reply